d-CROIS
The following year after developing the CROIS (my cantilever brake prototype cyclocross frame) I looked into developing my prototype disc brake cyclocross frame, the d-CROIS.
It would adopt the same race frame geometry that I developed for the CROIS and it would also adopt the same tube shaping standards. Cable routing and brake mounting however are the key differences from the previous CROIS development.
Since writing this post I’ve developed two d-CROIS frames, one in 2013 and another in 2014 for Oli and Andy respectively.
Oli’s 2013 d-CROIS
Today cable routing on Albannach frames is something I’m really excited about but it hasn’t been without it’s tweaks and headaches along the way. Manufacturer limitations meant in the first few prototype frames I had to make do with what was possible at the time. In 2013 my manufacturer was only able to internally route cable down the down tube. My ideal, especially for cyclocross, would be to route all cables internally. This not only tidies up the frame from an aesthetic point of view but also mitigates potential snagging at cable stop points and most importantly promotes longer lasting smooth cable actuation.
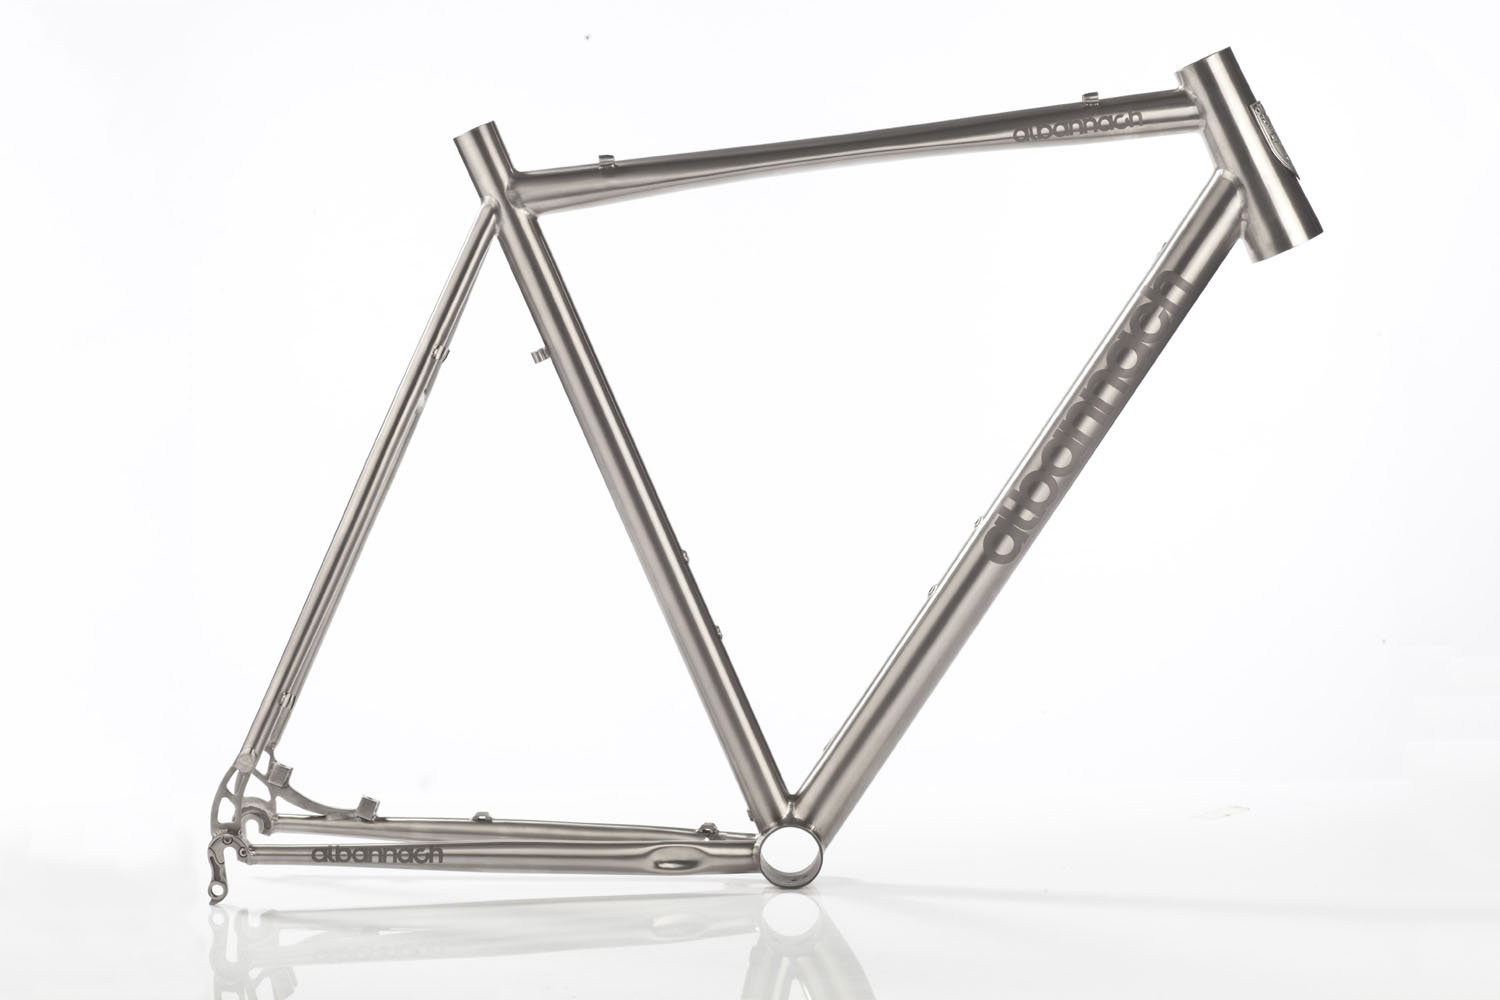
At the time, the norm was to place the disc brake mount on the upper side of the seat stay. This really makes no sense. Seat stays would ideally be vertically thin, laterally wide; improving vertical compliance and lateral stiffness. Brakes mounted onto idealistic seat stays will inevitably shudder with braking. Chain stays, however, would ideally be vertically tall and laterally wide; for greater vertical stiffness and maximising tyre/chainstay/crankset clearance. Chain stays are therefore the ideal location to place the disc brake mount. Though for the smaller frames space needs to be fought for.
Locating the rear brake on the chain stay meant that ideal cable routing is then down tube to chain stay. Oli’s down tube could be routed internally though at the time of manufacturer we couldn’t get the cable routed internally along the chain stay, cable saddles did the job just fine. Like the CROIS, both derailleurs are externally routed along the top tube; rear derailler then on the underside of the seat stay and front derailler along seat tube to the built in pulley system. This, as discussed for the CROIS build, is not ideal due to the down pull function road/cyclocross front derailleurs. The ideal would be to route along the down tube to a cable stop below the front derailler to allow smooth down pull actuation.
After the issues I encountered with BB30 standard, PF30 bottom bracket shell was the new standard of choice. I’m a real fan of this standard and will continue to use it on my personal future frame designs.
Take a look at Oli’s frame in the gallery.
Andy’s 2014 d-CROIS
The following year, fully internal cable routing became a reality. The rear disc brake routed through the down tube, underneath the bottom bracket shell and through the chain stay. The rear derailler through the top tube and down through the seat stay. The front derailler down through the down tube and then straddling around the bottom bracket shell to cable stop below the front derailler. The result is really fantastic and for me, perfect for cyclocross.
Andy’s bike arrived late last year and was debuted at Foxlake II in January earlier this year. Early indications are it is a total weapon built up in 1 x 11 fashion I’m really looking forward to feedback from ‘cross season
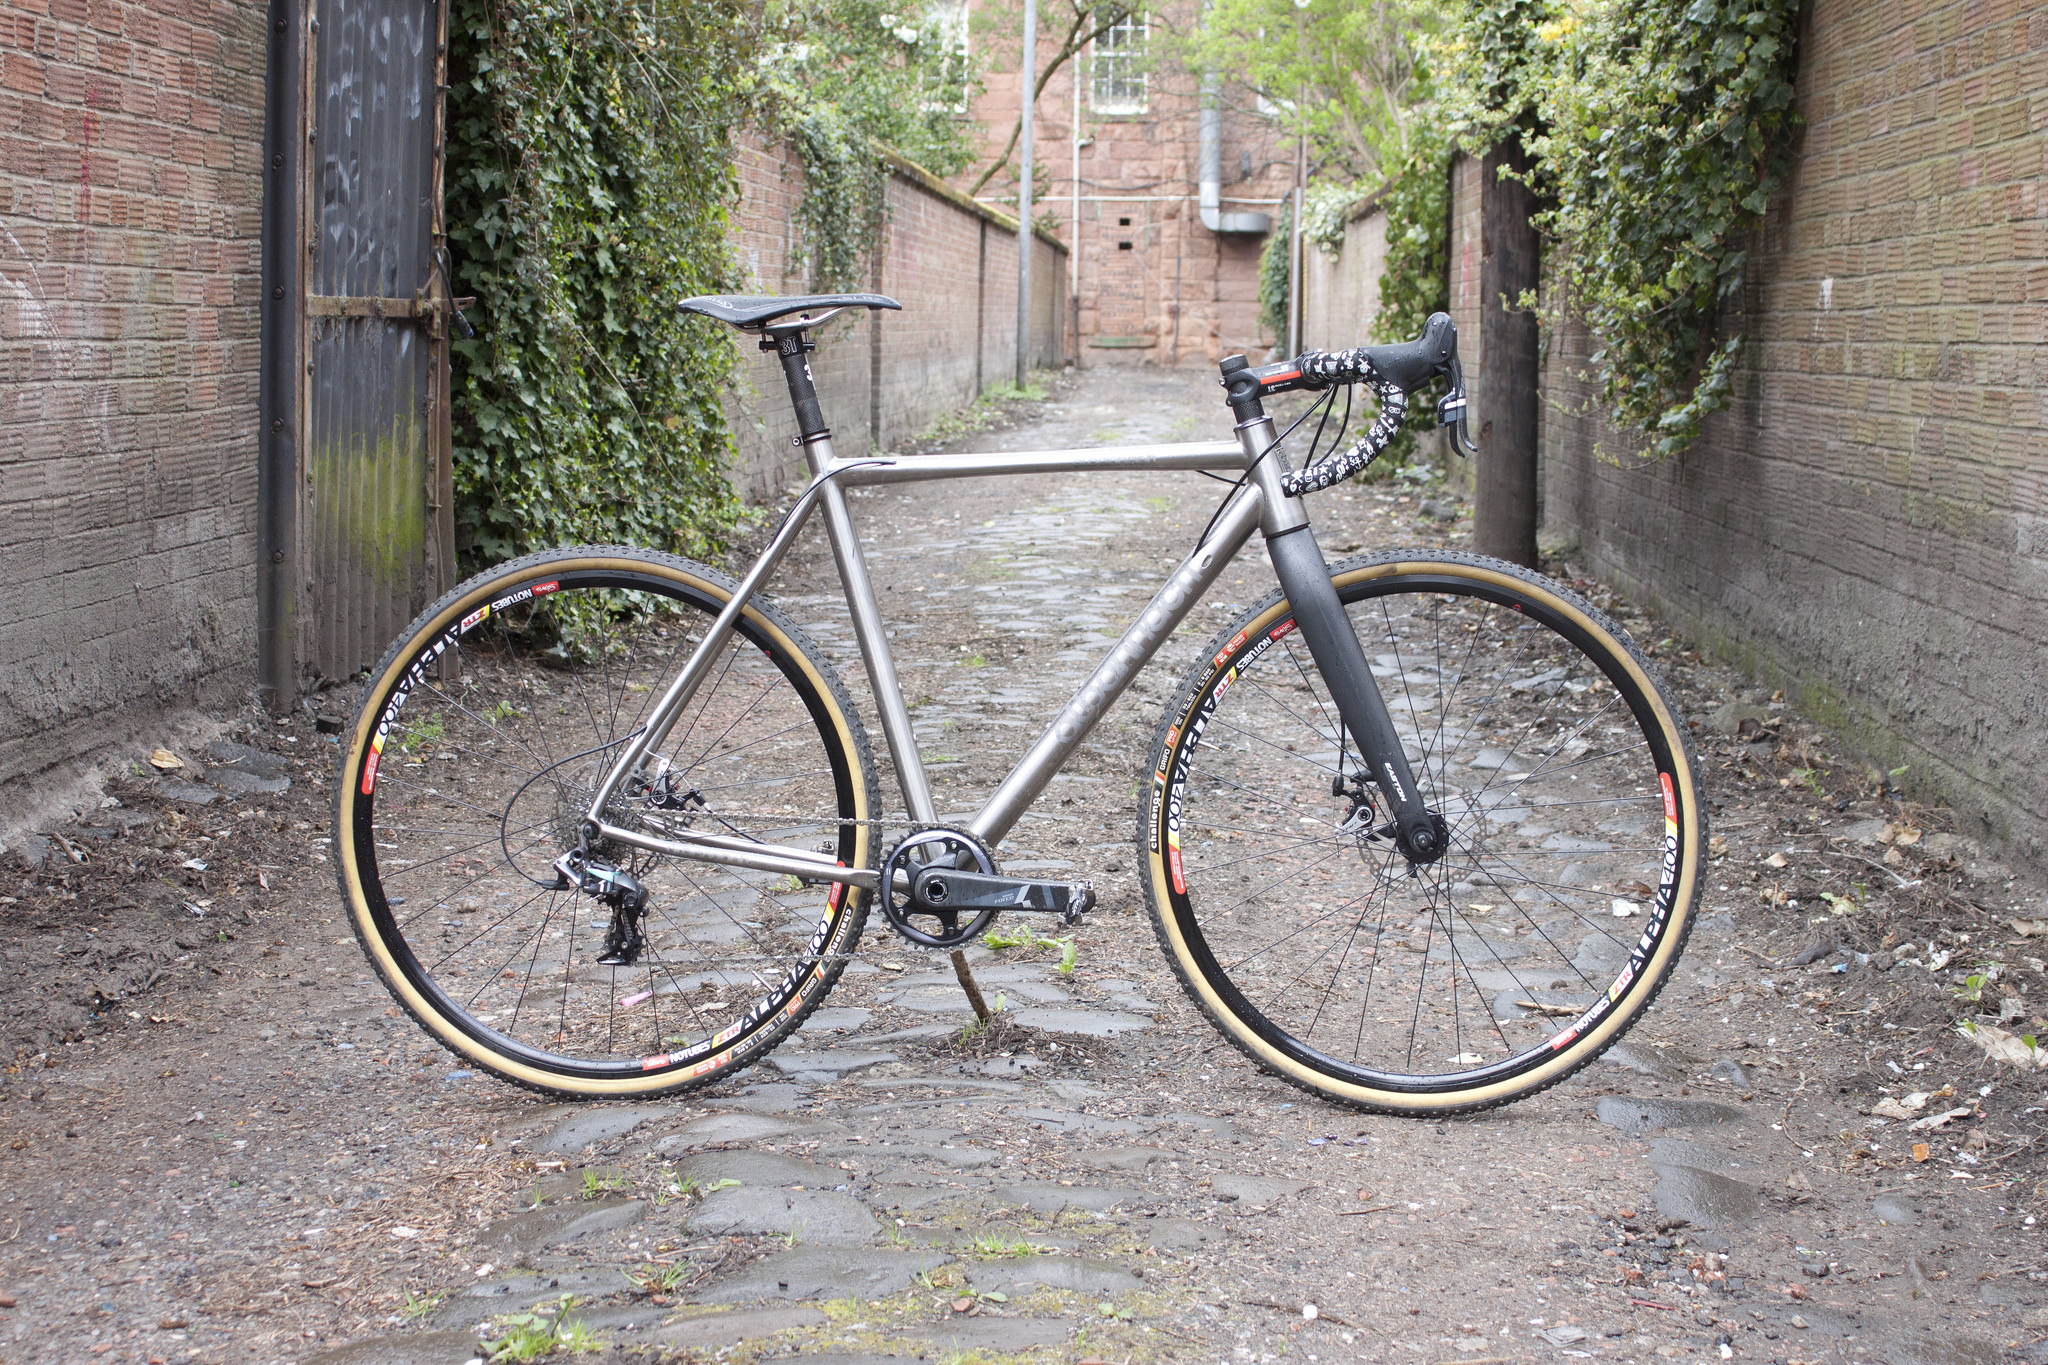
Take a look at Andy’s frame in the gallery.
2015 d-CROIS
I’m going for a personal upgrade this year. The geometry will be exactly the same as Andy’s, with very slightly amended cable routing as mine will be 1 x 11 specific. Stay tuned for my new killer bike, coming in September.
Flickr


Approved


Follow


copyright © 2024 www.albannach.cc
Comments: