Jim’s RATHAD
A year after developing my first prototype cantilever brake cyclocross frame, the CROIS, I looked to the summer months with a desire to retire the DUBH with my first prototype road frame.
What started as a prototype design in summer 2014 then became a long iteration of design to almost perfect the prototype. A lot of this development time involved creating my own Albannach frame geometry for both cyclocross and road. Since it was summer my attentions were focussed first to dialling the cyclocross geometry as my friend Andy was after a d-CROIS (see Andy’s 2014 d-CROIS here) for the 2014 cyclocross season. Then came the chance to develop the road geometry. I wanted to be able to offer traditional geometry and compact geometry.
For me, cyclocross frames should always have traditional geometry. Simply from a racing practicality point of view, you want the front triangle to be as large as possible to make it easier shouldering the bike. I also prefer the aesthetic this way for cyclocross frames. For road frames on the other hand it makes more sense to adopt the compact geometry principle. Smaller frame triangles lend to a stronger build and marginally will reduce weight due to smaller sections of tubing being used. And again a prefer the aesthetic of compact geometry for road frames.
The frame
In terms of the build, the tube sections used were identical to the CROIS. a tapered head tube (to house a 1 1/8″ to 1 1/2″ tapered fork steerer), 44.5mm Ø DT, 34.9mm Ø TT & ST. This time however I abandoned the BB30 bottom bracket shell in favour of the PF30 shell. I’ve been through far too many bearing on my CROIS and I can only put this down to the stringent tolerances required for fitting the bearings.
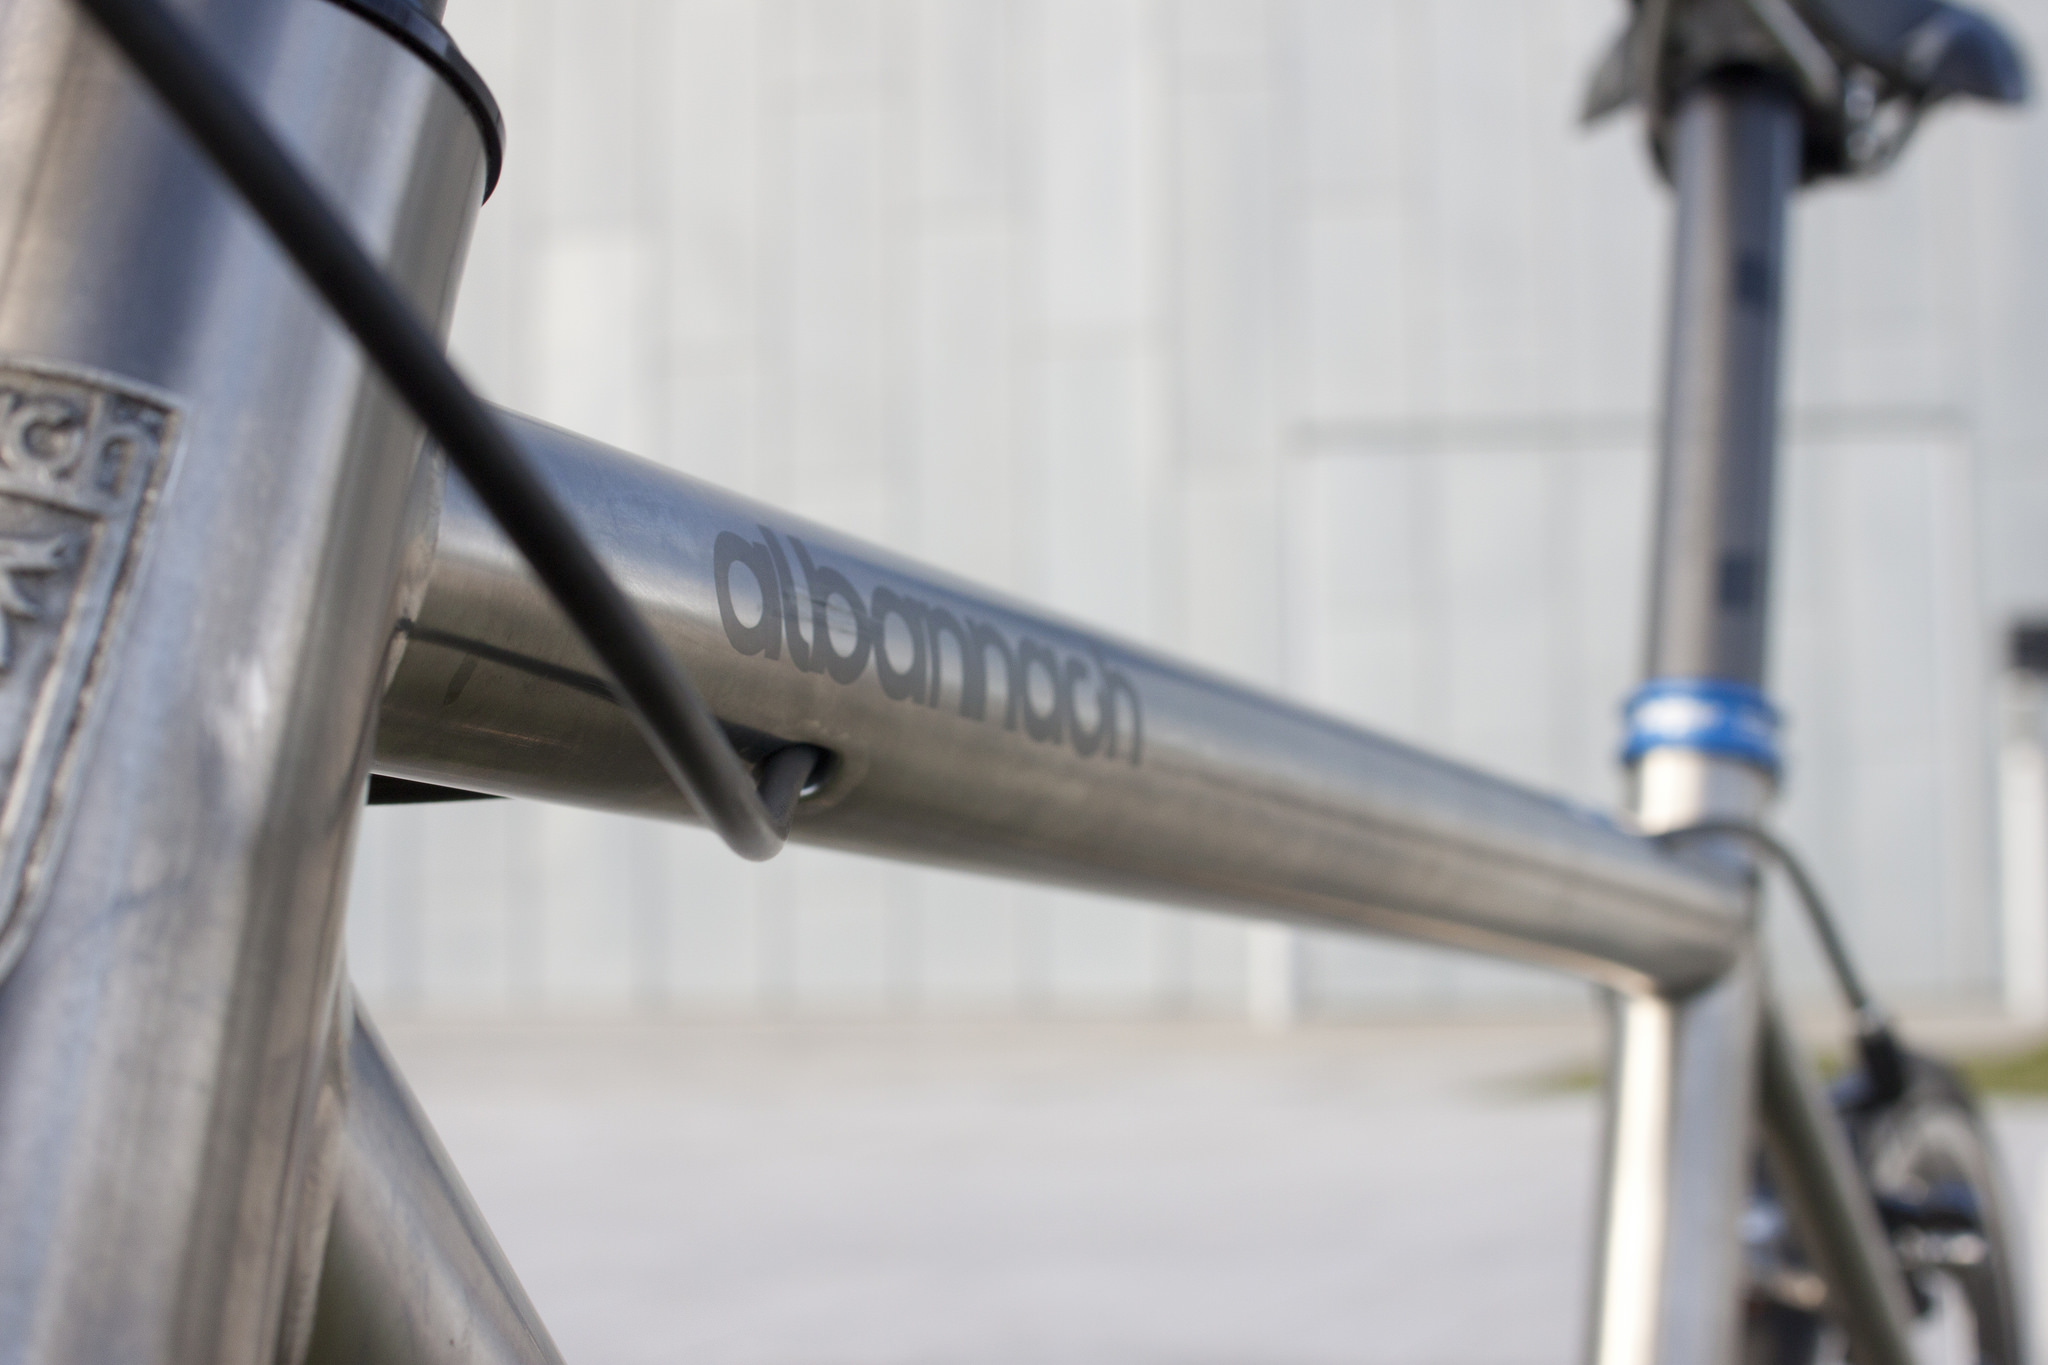
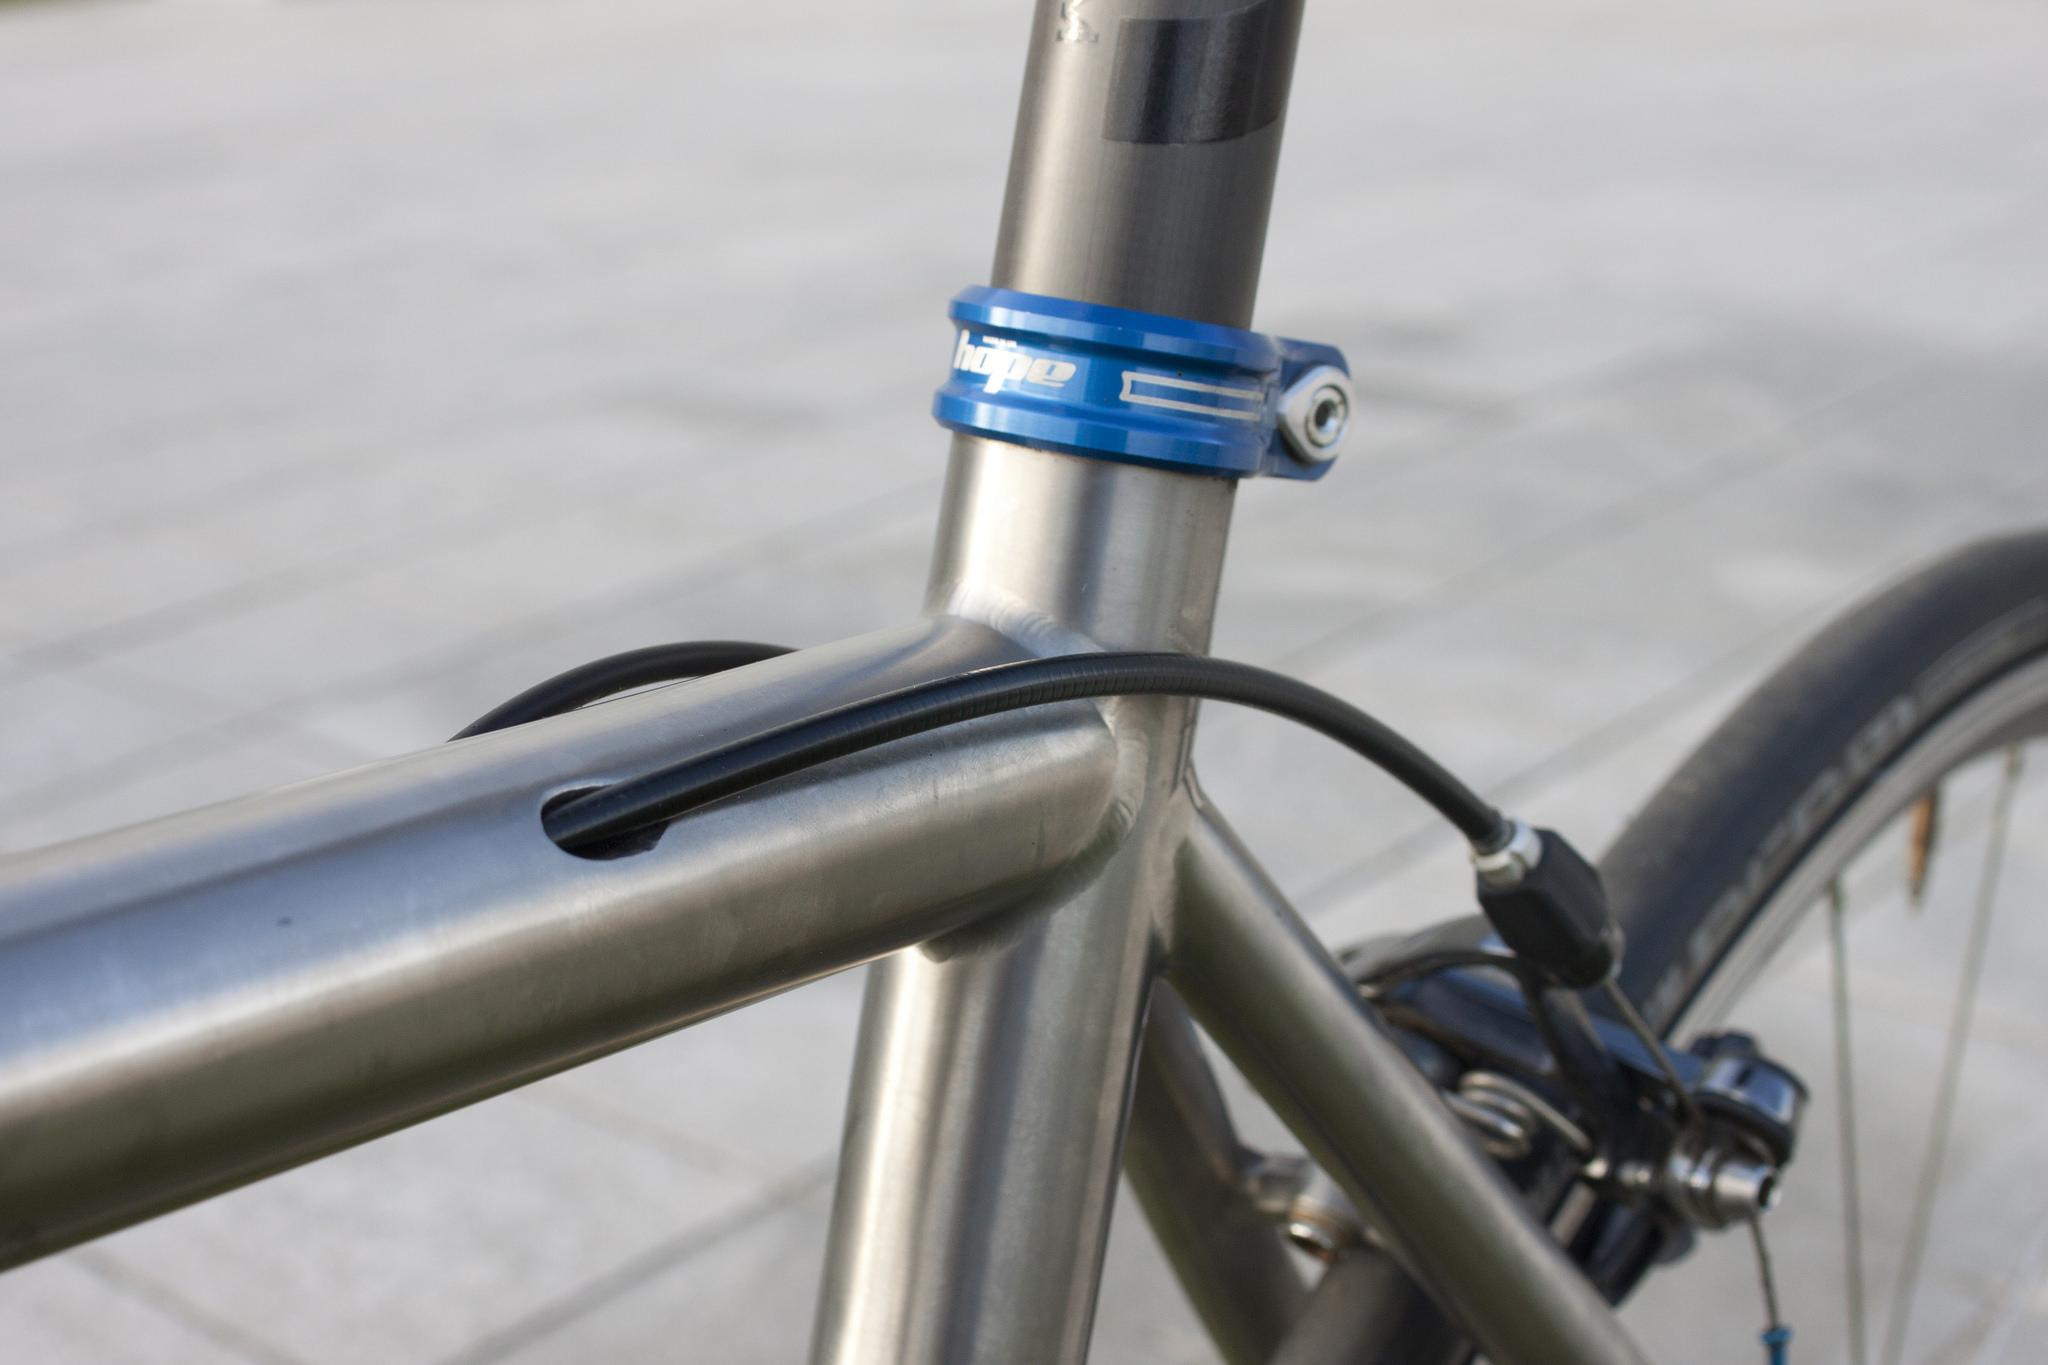
Since building the CROIS my manufacturers have been able to improve their techniques to offer far superior finish to their internal cable routing. What previously would have been a drilled out hole with a cable goide piece welded inplace had clearly led to tricky welding. The finish now is equisite. The ducts come flush the edge of the frame without a trace of welding. With this they were now also willing to route internally all of the frame tubes. For me the ideal rear derailler routing is not down the down tube and along the chain stay but along the top tube and down the seat stay. Simply from a path of least resistance point of view top tube > seat stay offers the least resistance and hence would assist in better cable actuaction. To assist with this further rear derailleurs would always enter the top tube on the non-drive side (as the rear derailler is always actuated through the right shifter) and then exit on the drive side. Unfortunately titanium construction does not have the benefit of being able to create a large mould around the seat tube to allow a fully internal route so a quick in and out around the seat tube will always be required. From there in and out on the upper side of the drive side seat stay before the rear derailler.
One of the benefits of custom design is I can also route the cables dependent on how I like to ride the brakes on my bike. I tend, being from the Scotland, to adopt LHD (i.e. front brake on the right) and hence the left hand shifter would actuate the rear brake. In a LHD setup the rear brake should always enter the frame on the drive side. (either top tube for road and cantilever cyclocross frames or down tube for disc brake cyclocross frames). This therefore means that entering on the drive side, it would then also exit on the non-drive side, crossing over the rear derailler duct. This would not be possible for an externally routed system unless outer cables were adopted from shifter to component. That or an even less ideal cable route at the front or the rear of the bike. This setup presents the best possible routing for an LHD setup. RHD setup (i.e. front brake on the left) would simply be designed such that the rear brake enters non-drive side also. This did make me think that road front brakes are really only design with RHD in mind. With your front brake cable stop on the drive side having RHD setup allows for a much easier route, LHD setup on the other hand is a little more awkward. Maybe we should all be riding our road bikes RHD. or maybe manufacturers should offer front brakes with cable stops on the non-drive side?

The front derailler routes as per Andy’s 2014 d-CROIS, down the tube on the drive side, out on the underside of the down tube, straddles the bottom bracket shell and then cable stopped below the front derailler position on the seat tube.
The build
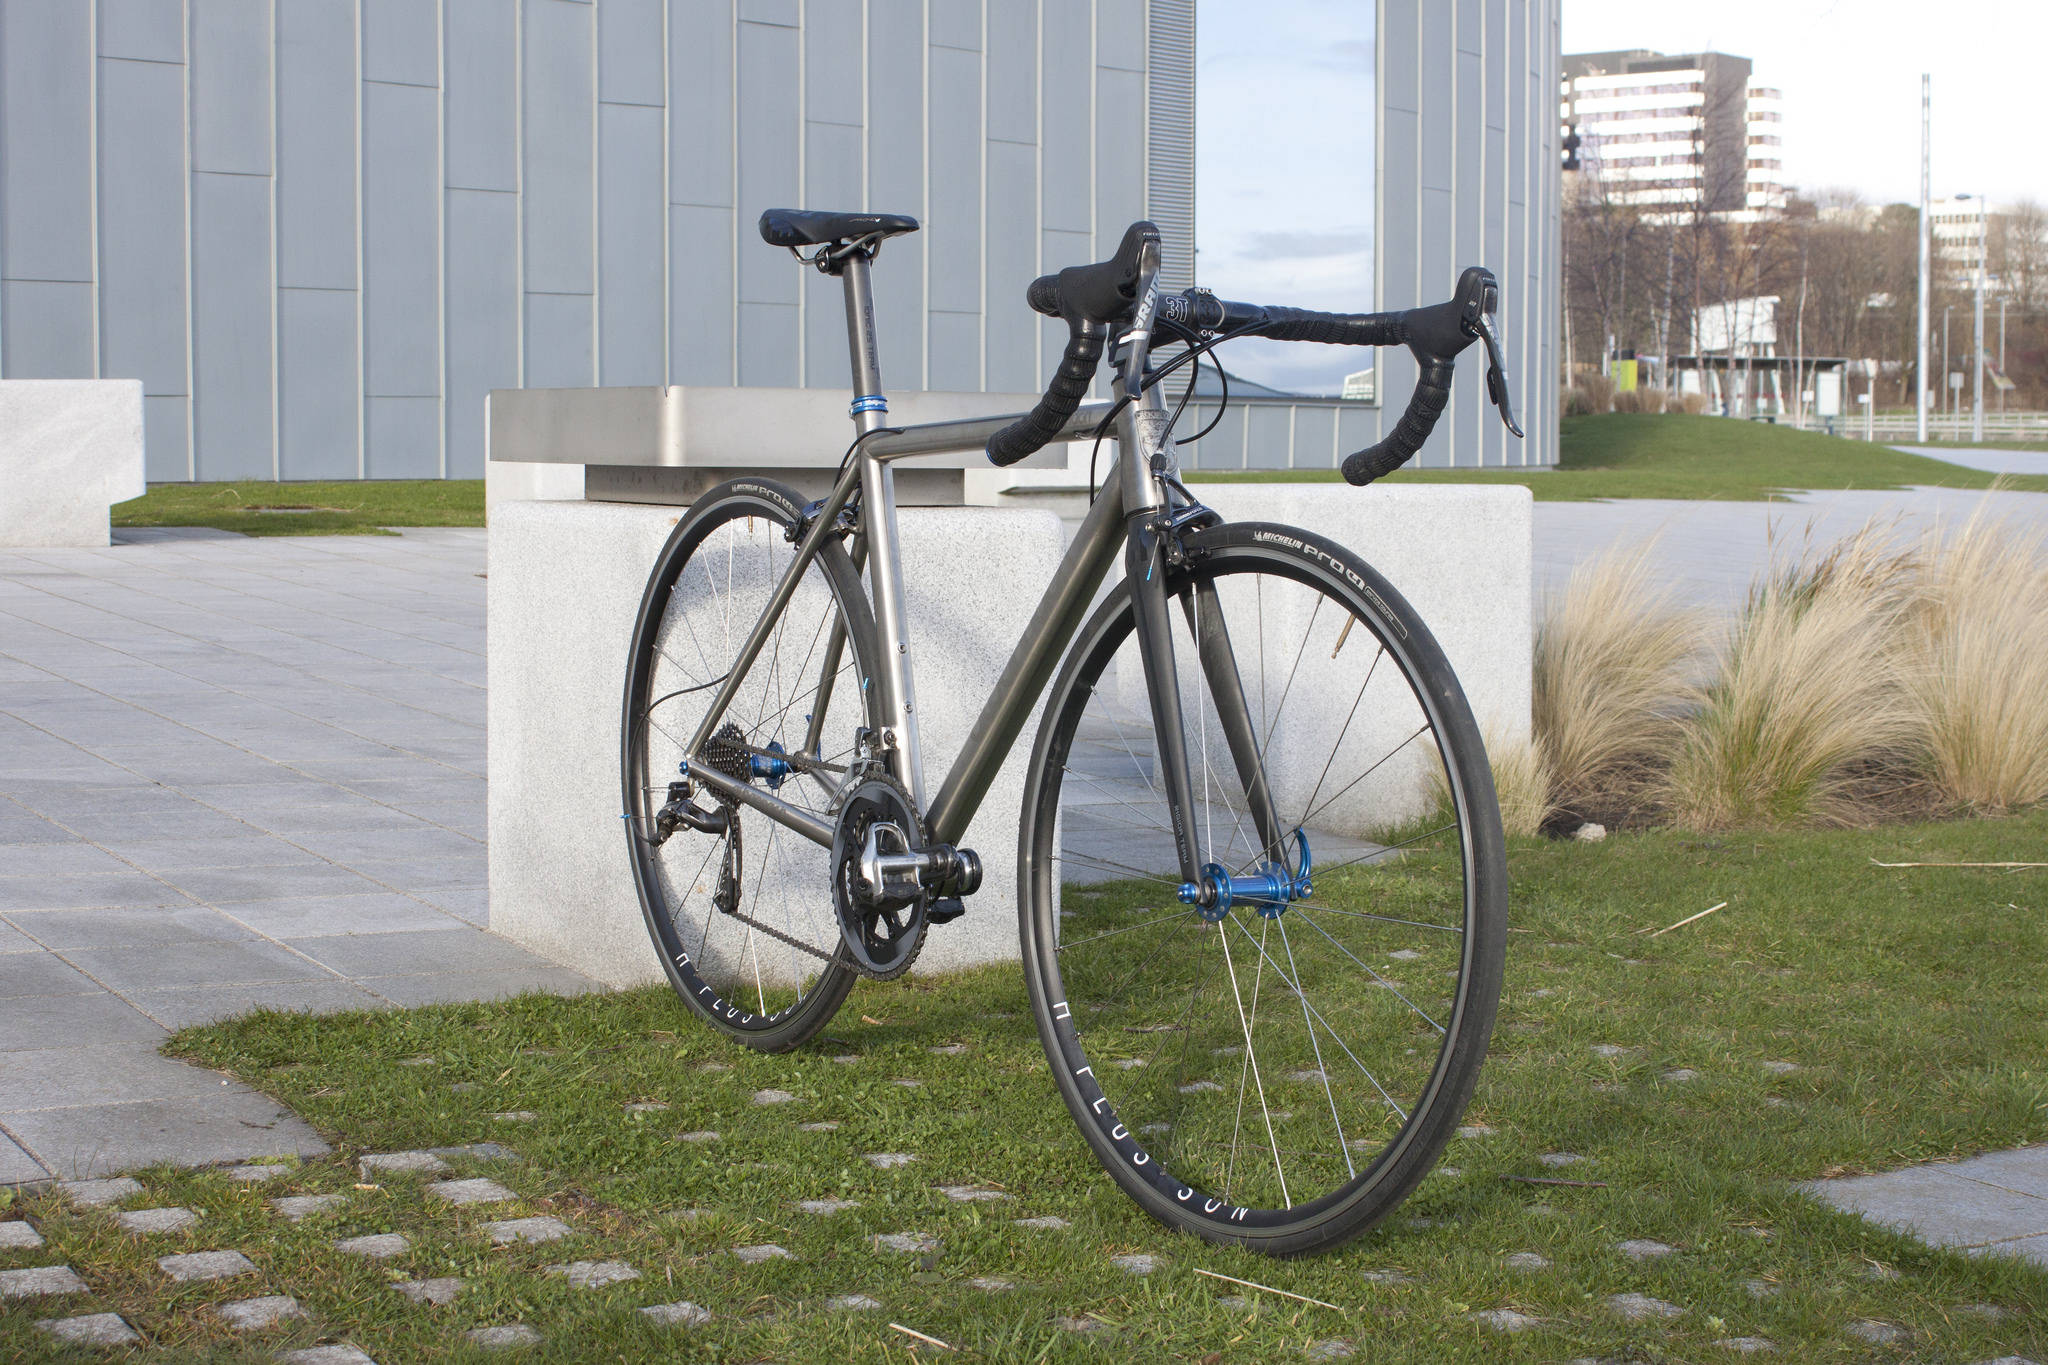
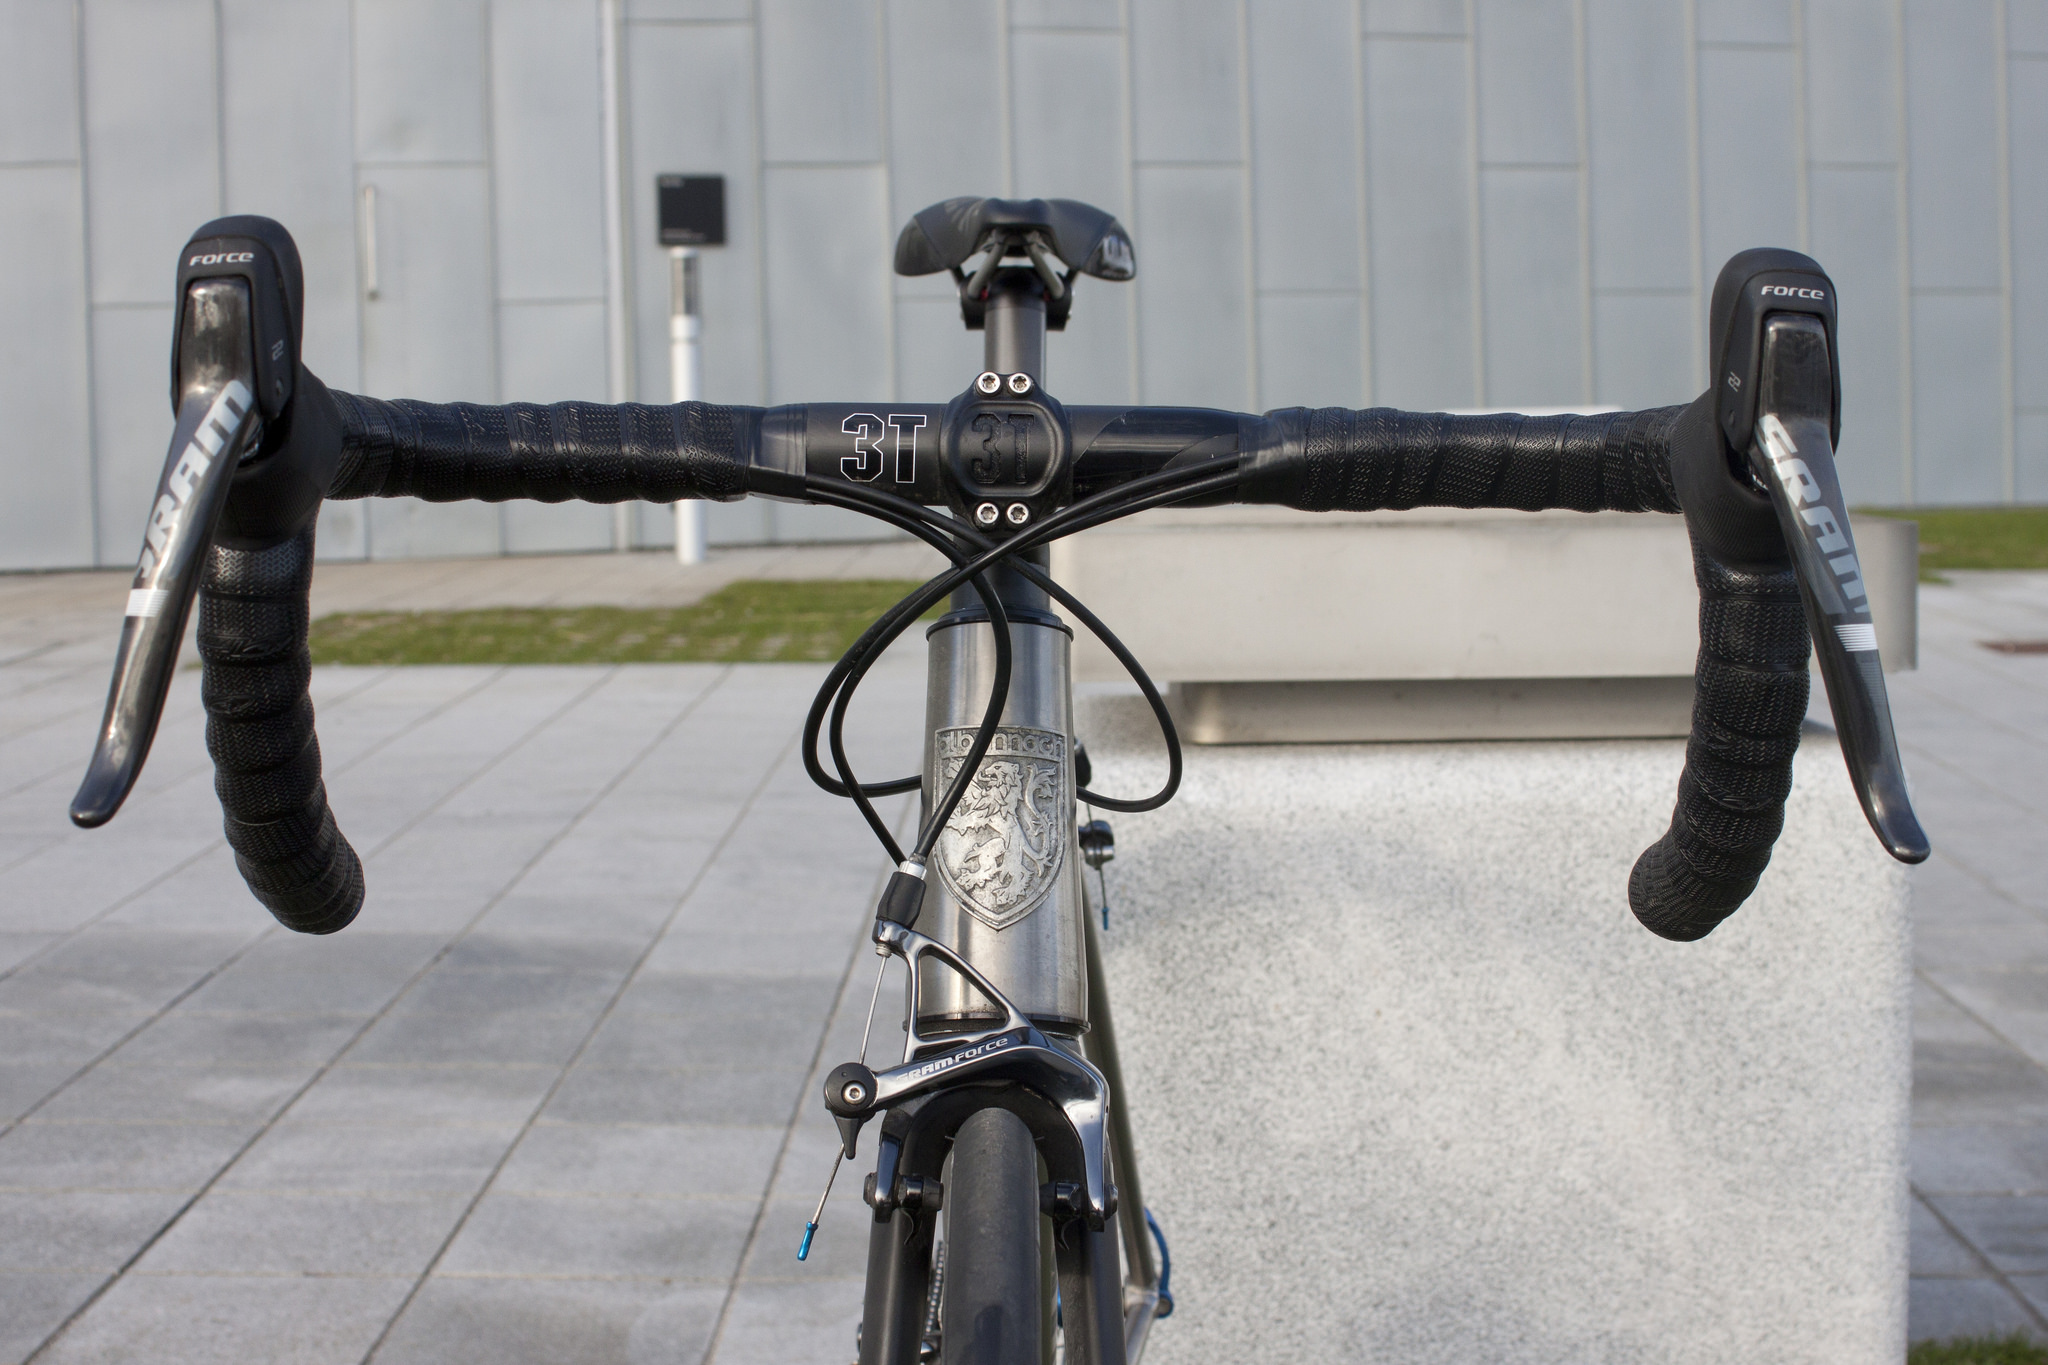
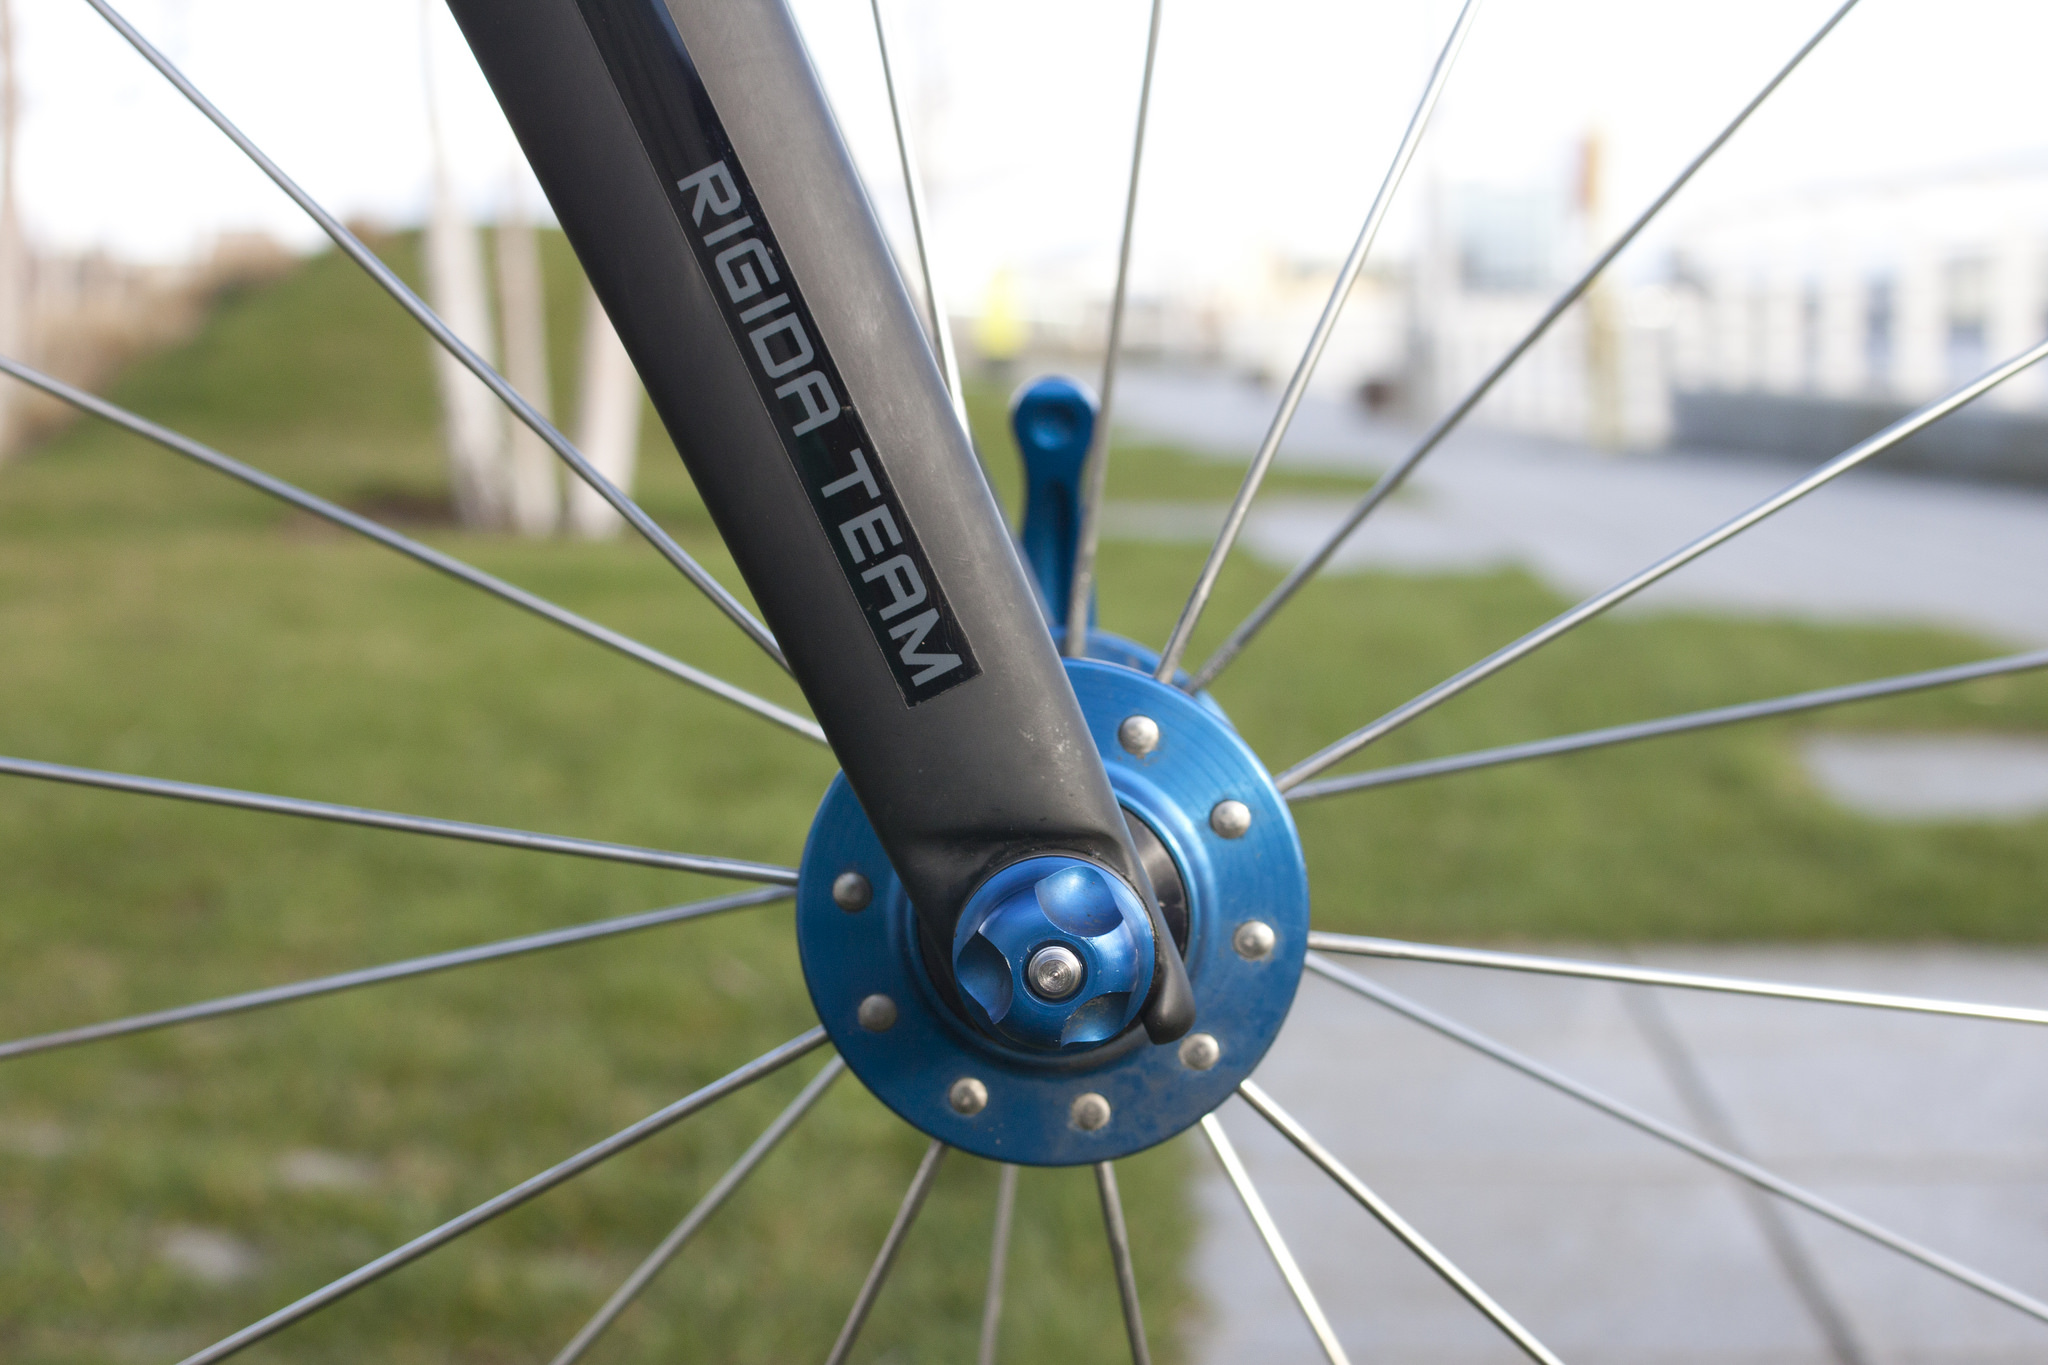
The RATHAD build went something like this – SRAM Force 22 groupset, , H Plus Son Archetypes laced on blue Hope Pro 3 (20 hole front and rear) hubs shoed with Michelin Pro 3, 3T Rigida Stealth (TEAM) fork, Shimano Ultegra 8700 pedals, Fizik Arione Vs and 3T Stealth (TEAM??) finishing kit, topped all off with some blue Hope clamps and bolts. More photos available in the gallery.
The name
RATHAD /Ra.ad/ pronounced rad with a hard a – in English, road.
The geometry
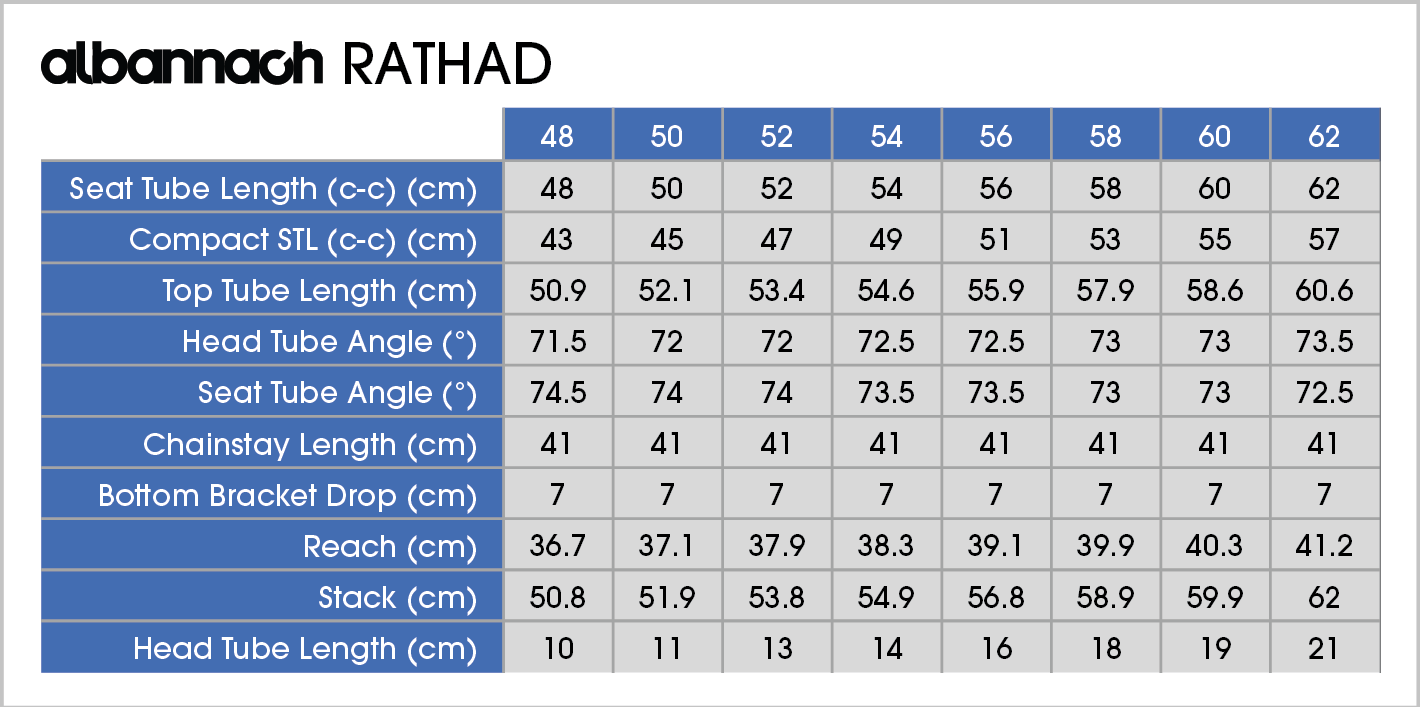
For those interested this is a ’52’ RATHAD. Details on the geometry can be seen in the table below.
Future RATHADs
Learning from prototype issues from the CROIS I feel at this stage there is very little I’d like to do to develop the RATHAD. I’ve ridden over 5000km on it and I love this bike. I’d love to develop the rear dropouts with my own CNC design. Maybe the only way to progress from here is d-RATHAD, or is that sacrilege?

Flickr


Approved


Follow


copyright © 2024 www.albannach.cc
Comments: